
Way back in June 2011 and July 2011, I did several posts on my build of an Anton's Roundhouse kit (click on the links above or see the old posts list to the right and down).
Well, I finally decided that I needed to finish it, only 10 years late.
The problem that stopped me originally was the large rear windows that were wrong, or at least based on a plan and some photos I have of the type.
I measured the existing window frames of the model and worked out that I needed to modify them to get the windows anywhere near correct. The problem is that the roundhouse is designed to go with the Anton 75 foot turntable and the turntable has incorrect spacing(read angle) of the radiating tracks. This angle difference means that the rear walls of each stall are wider than they should be and this makes the proportions of the windows in the rear wall look wrong. It also became apparent that some of the rear wall framing was incorrect. I worked out what I needed to do to make things look proportionally correct even if not dimensionally so.
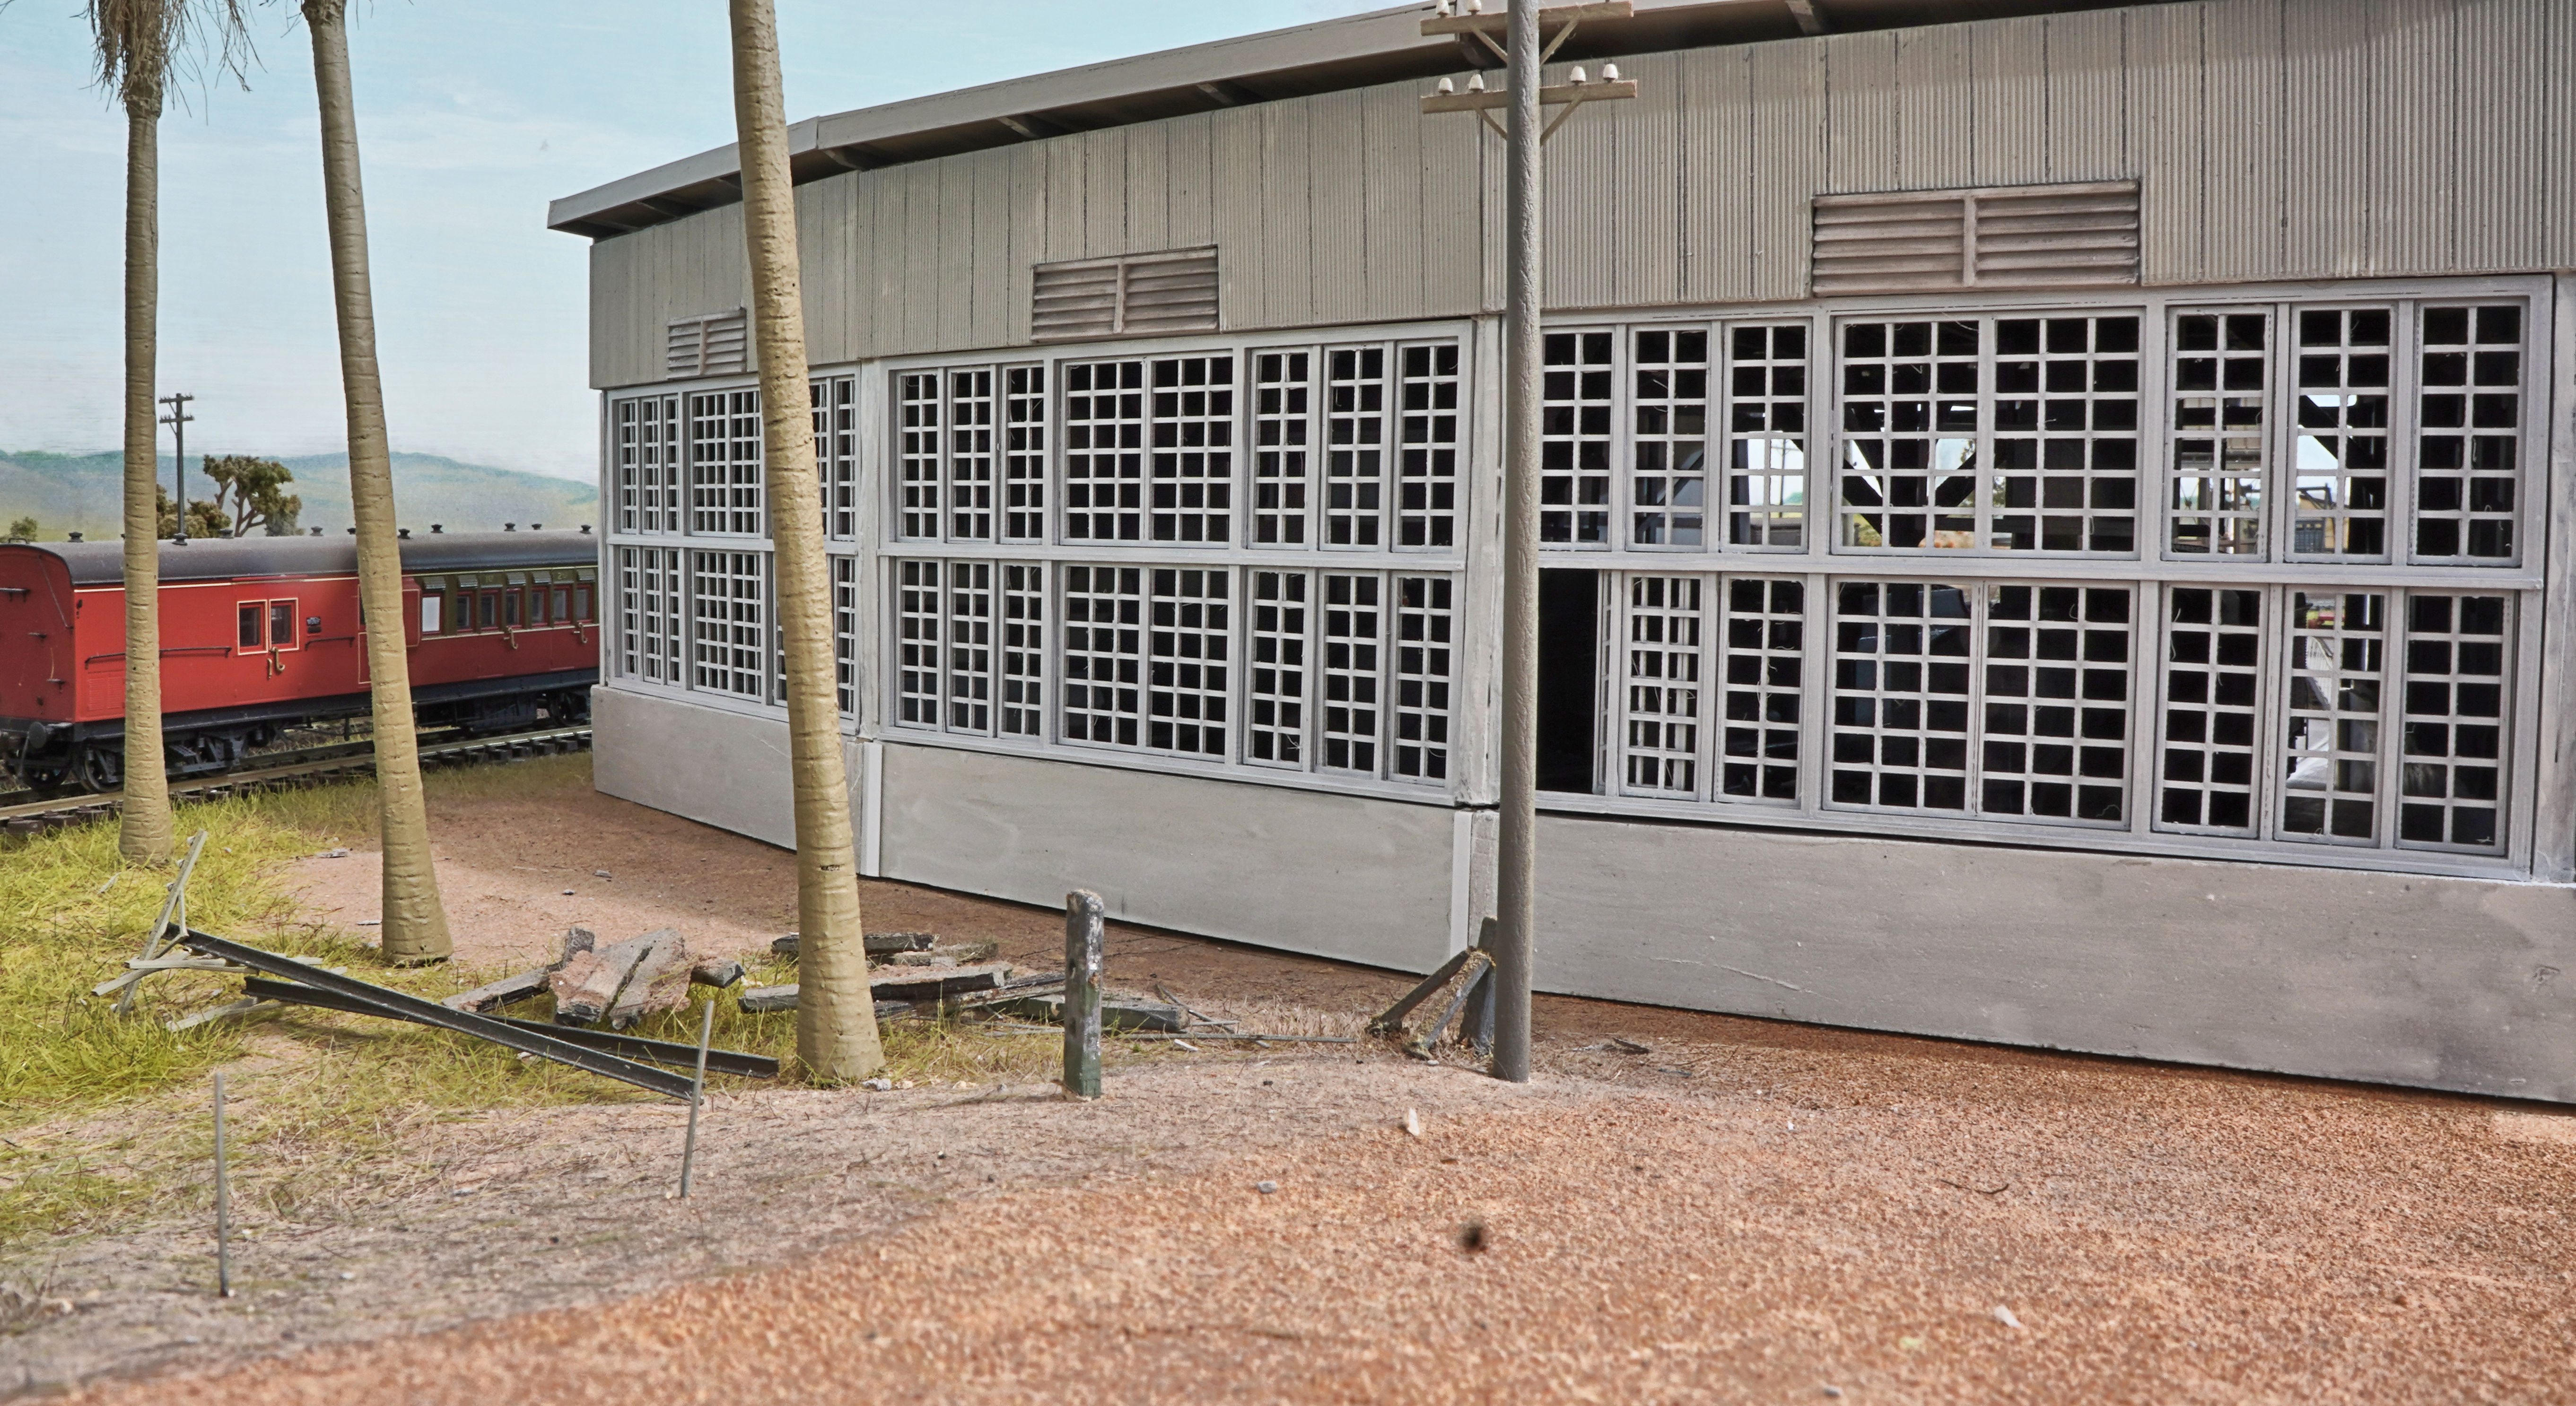
 |
| Cowra Roundhouse rear windows showing proportions |
I turned my computer on and drew up some replacement window frames and the two different size windows in Sketchup for 3D printing.
 |
| This view shows that the model framing for the windows is quite wrong |
The smoke vents that I made from various Evergreen strips and sheet can be seen in the above photo. These days I would of course draw them up and 3D print them. It is amazing how much 3D printers have added to my enjoyment of the hobby.
After printing a frame and some windows I checked how they might look. Apart from being wrongly placed the large louvres above the centre of the windows then looked too tall.
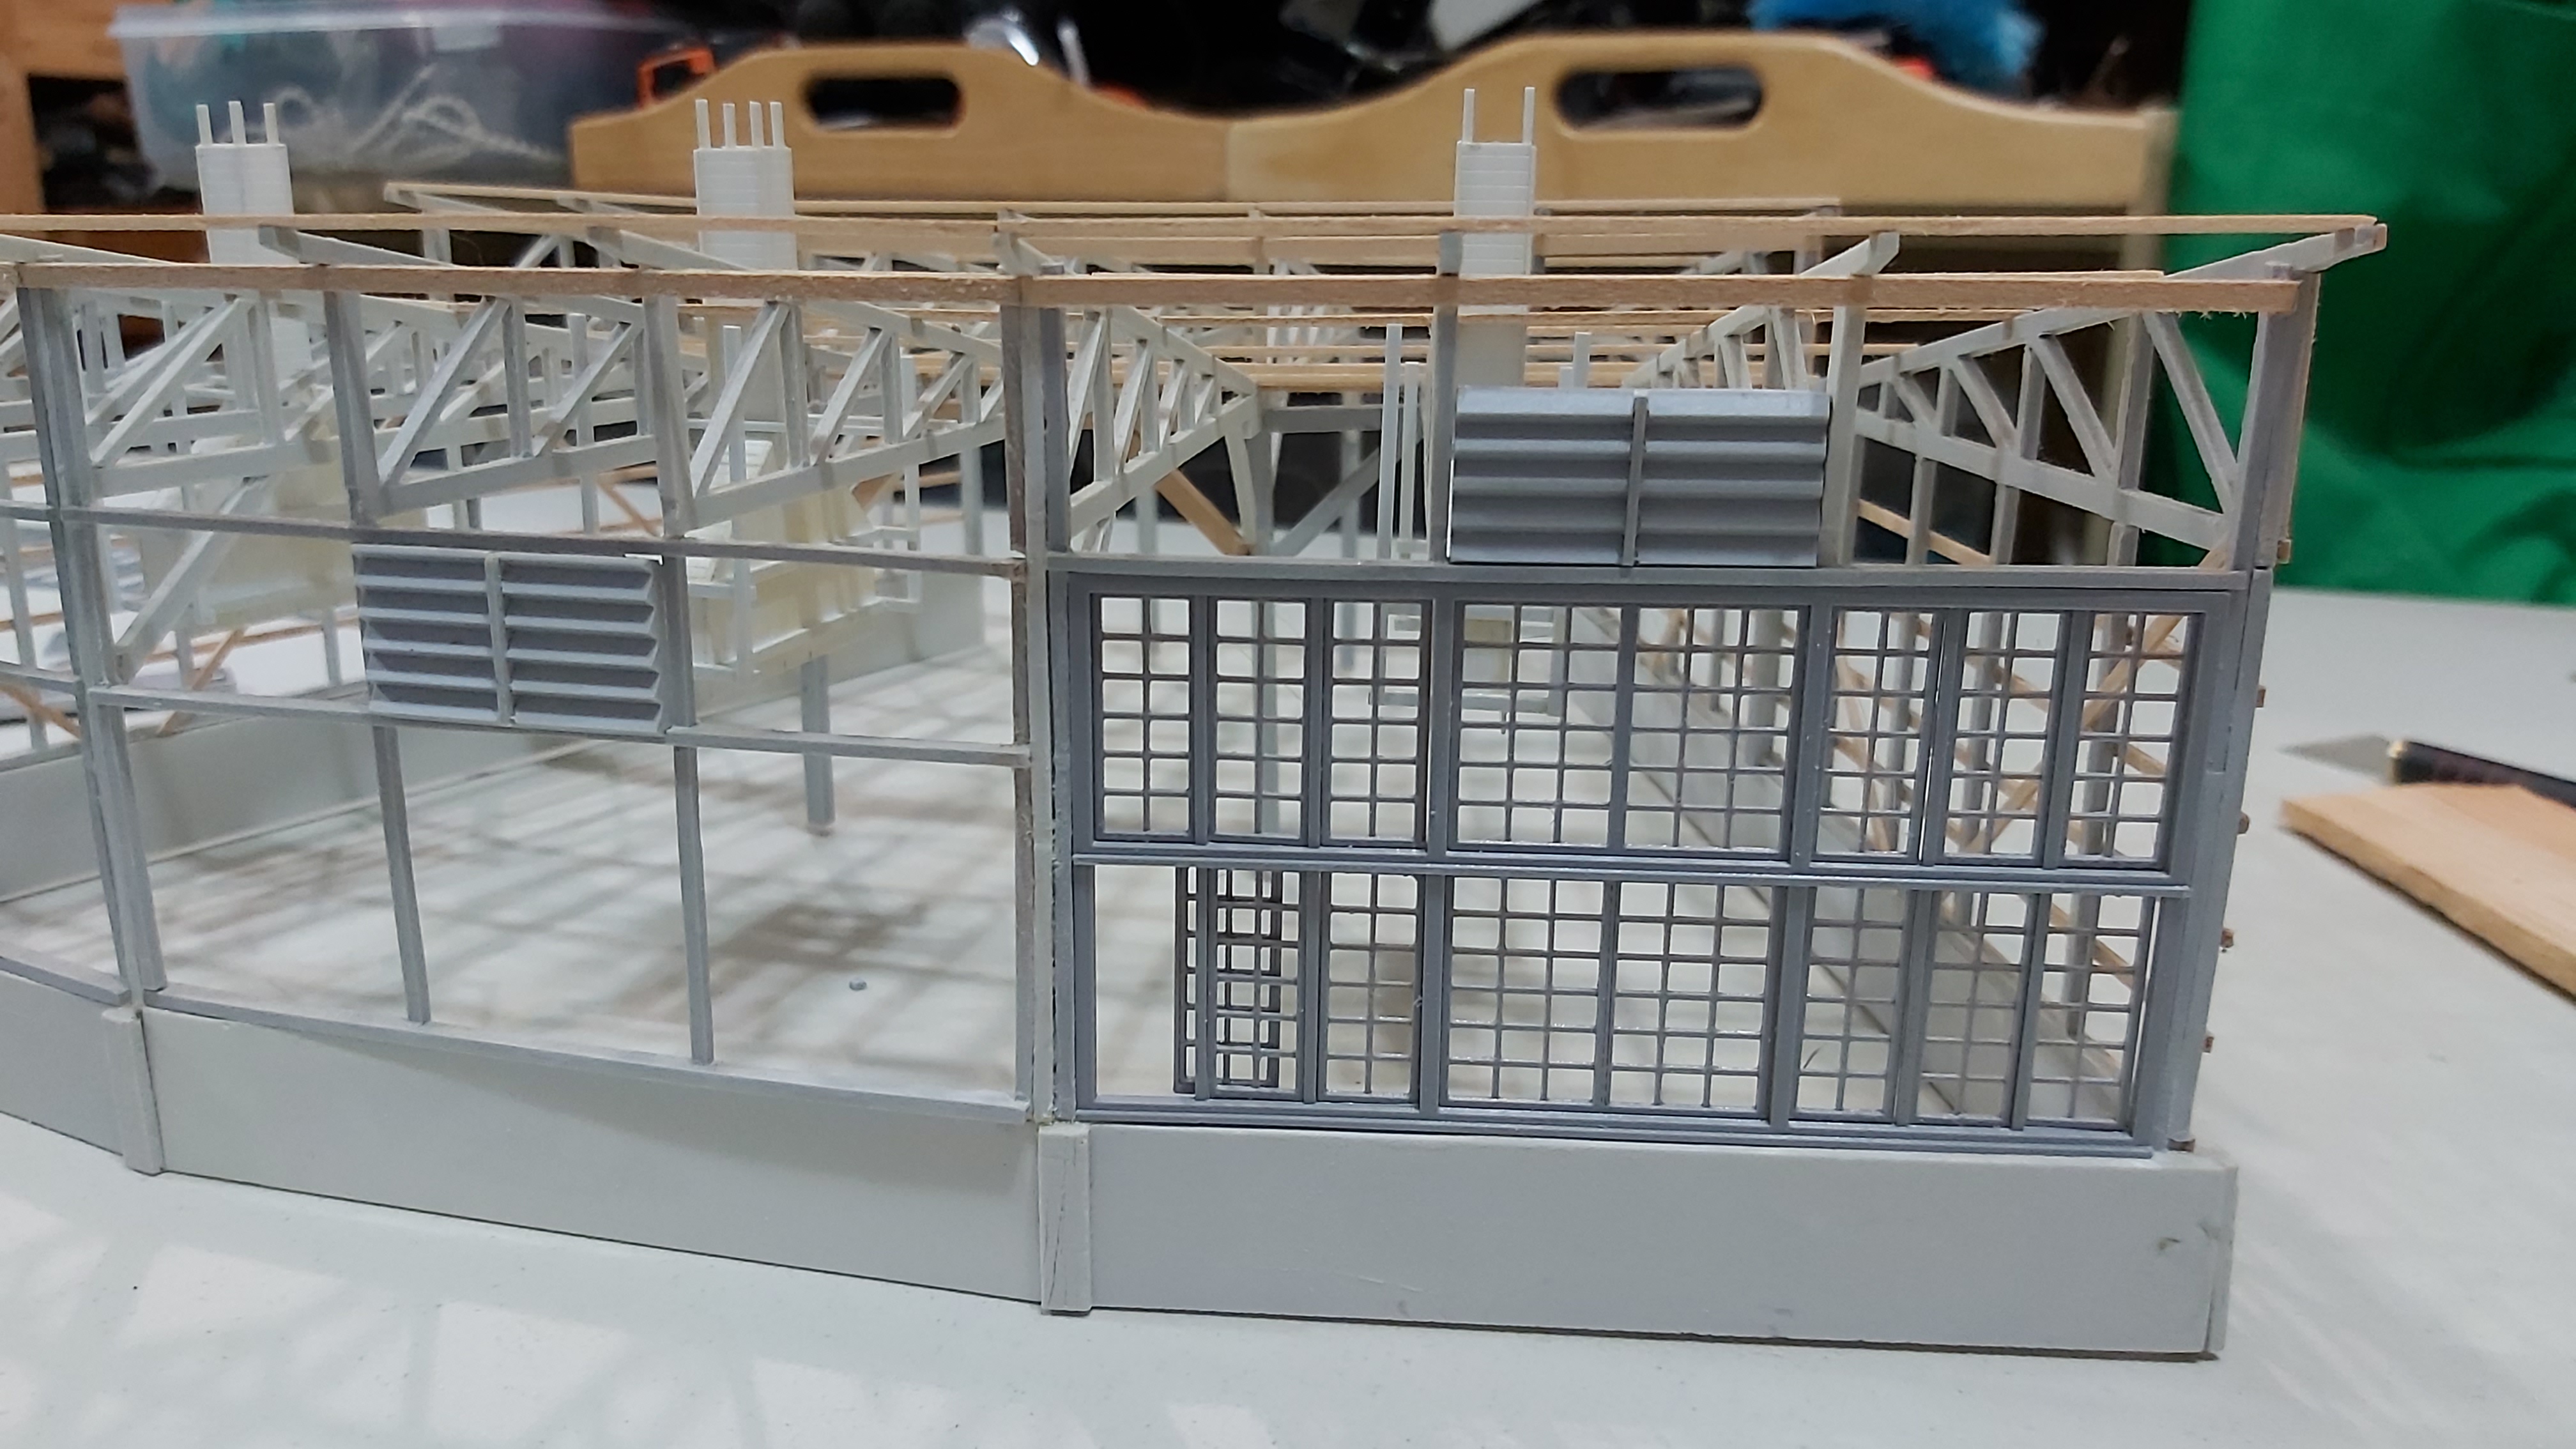 |
| Incorrect framing cutaway and printed frame and windows in place |
 |
| All 3D printed frames, windows and new smaller louvres are in place. |
The windows and window frames were printed on a filament printer with PLA filament and a 0.4mm nozzle and a 0.1mm layer height. Here are the STL files for those who wish to use them to improve the Anton's roundhouse. The link points to a folder with the STL files. Please note that there are two small window STL files as the 0.4mm nozzle made slight variations in the window frame, a function of the printer trying to get the frame dimensions correct but needing to accommodate the nozzle size I guess. The difference is only tiny but it can stop the wider small window from fitting into the frame. It is best to print one each of the wide and narrow small windows first then try them in the window frame to work out how many of each size you will need.


2 comments:
Very nice work Ray. I like the look of the windows and louvres and can see what you mean about the louvres also not looking right.
Thanks for sharing the window stl files.
Ray, I noted today at the Kaleen Exhibition, Anton was still selling this kit - around $290, although I wasn't really taking too much notice, as I cannot us one on Wagga. It is great that you are able to improve your model, and all power to you for finishing it
Post a Comment